DIY Elegant Valentine's day cards
There is no better way to say 'I love you' then with a gift you made by yourself. With one of these 3 elegant (and, yet, very easy to make) cards your love message will be crystal clear. They are great not just for Valentine's day, but for every occasion you need a bit of sparkle and hearts (birthdays and such things). Write a lovely note inside the card (for example, You make me happy, so I made this card to return the favor), put it under the bow on a box of chocolate or in a bouquet of flowers and you're loved one will be absolutely delighted.


In this tutorial, I will show you how to make three different cards templates, how to make hearts in various sizes and shapes, and how to assemble all together in elegant Valentine's day cards. Please, do not be afraid of so many steps in this article. As always, I wrote an in-depth tutorial, and make sure to cover all the issues and possibilities. You'll see, these cards are really simple and easy to make.
Making the cards templates
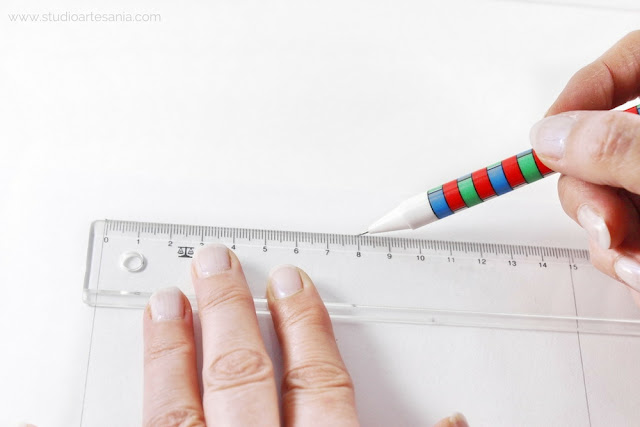
With the templates, you will make cutting process easier and sides of the cards will be evenly straight and look more professional. The principle of making all of three templates are the same, the only difference is the size which I will give you in step-by-step instructions for each card.
Step 1.
Step 2.

Making the frame template
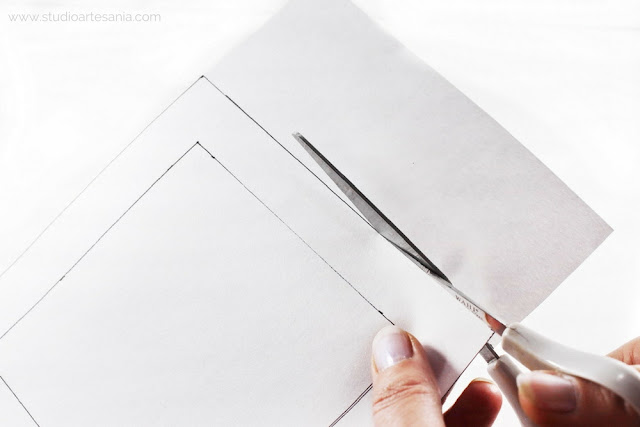
One of the cards has a frame on it, and here is how to make a template for it.
Step 1.
Step 2.
Step 3.

Making the heart templates
Step 1.
Step 2.

Step 3.
Step 4.
How to use the templates
Card template - Place the decorative paper on cutting mat and put a card template over it. Place the ruler on the edge of the template and using it as a guide cut the decorative paper with an X-Acto knife. Cut all four sides of the card in the same manner.


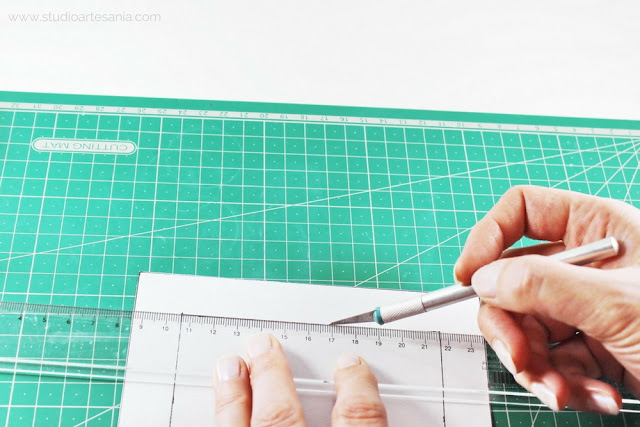
Frame template - To cut the outside of the frame, place the decorative paper on cutting mat and put the frame template over it. Place the ruler on the edge of the template and using it as a guide cut the decorative paper with an X-Acto knife. Cut all four sides of the frame in the same manner. Do not remove the template yet.

To cut the inside of the frame, place some heavy object on it. I used my favorite cup. In this way, the template will remain fixed in place, and it will prevent distortion of some parts of the template during the cutting.

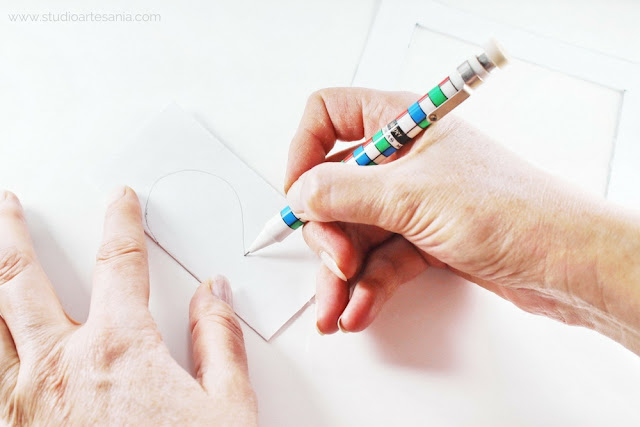
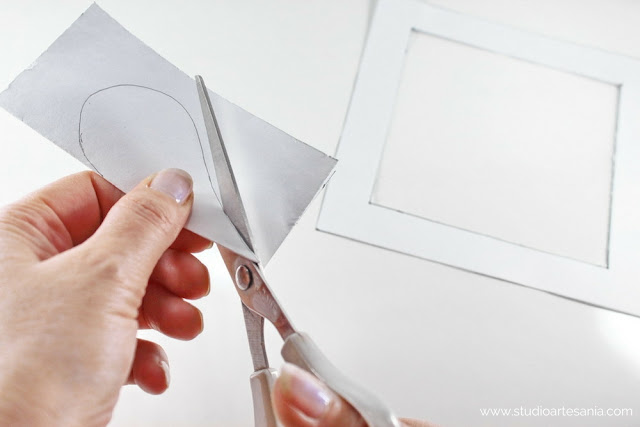
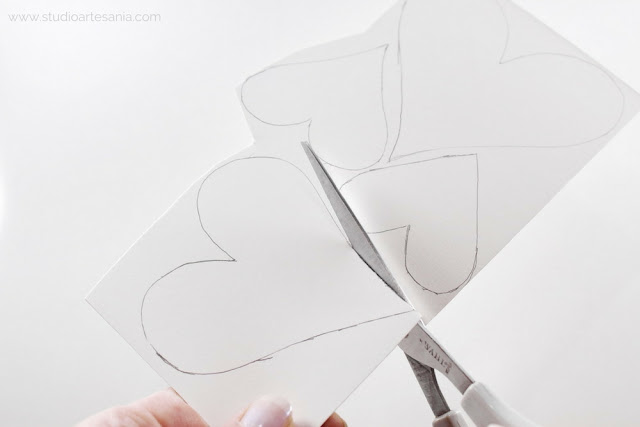
Hearts template - Turn the decorative paper on the back, and place it on cutting mat. Turn the heart template so the inside of folded side of the template is facing the back of the decorative paper. Place the heart template on decorative paper, and trace a contour of the heart with a pen. Remove the template and cut the heart with scissors.


Folding the cards
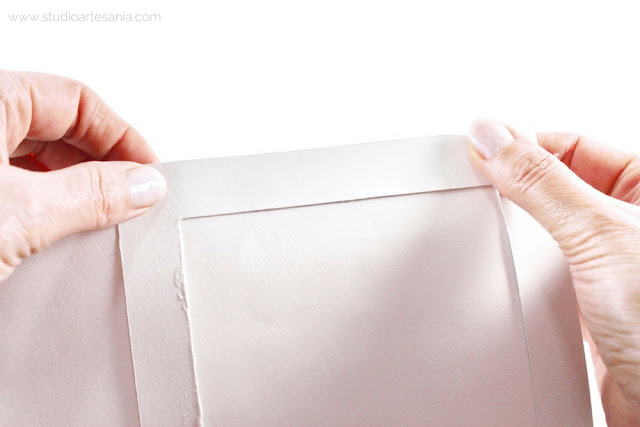
Bend the card it in half so the edges are side by side. Hold the edges in place with your fingers, and with thumbs gently push paper toward the middle of the card.
Decorative paper is slightly thicker than regular paper, so if you immediately fold it will get wrinkled, unequal and irregular folding crease. Gently press the crease with fingers to flatten it.
 Then take the ruler, and move it with gentle pressure over the crease to align and strengthen the fold.
Decorative paper is slightly thicker than regular paper, so if you immediately fold it will get wrinkled, unequal and irregular folding crease. Gently press the crease with fingers to flatten it.

Framed heart card


Materials and tools
2 sheets (A4) of the white decorative paper
1 sheet (A4) of red decorative paper with white polka dots
Heart shaped scrapbooking puncher
Printing paper (A4)
Pencil
Ruler
X-Acto knife
Scissors
Cutting Mat
Paper glue
Step 1.
Make a card template 30 cm (11.8 inches) long and 15 cm (5.9 inches) wide. Also, mark the middle of the card (which is on 15 cm/5.9 inches). Cut out the pattern along the lines.
Step 2.
Make the frame template whose outsides will be 15x15 (5.9x5.9 inches), and inside 13x13 cm (5.1x5.1 inches). The frame is 2cm (0.7 inches) wide.
Step 3.
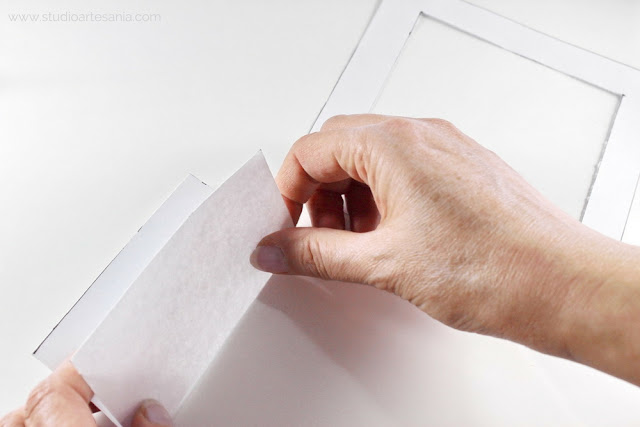
Take the paper you had cut from the inner part of the frame and fold it in half so the edges are side by side. Make heart template of it as explained in the introductory part of the tutorial. By using the inner part of the frame you will get the heart of perfect proportions for this card.
Step 4.
Place the sheet of white decorative paper on cutting mat and using the template cut the card base. Cut the frame from another sheet of white decorative paper.
Step 5.
Fold the card base. Then apply glue on the frame, and carefully place it at front of the card. Put the card on the side for few minutes to let the glue to dry.
Step 6.
Step 7.
Step 8.
With the scrapbooking punchers cut several hearts of the remains of the red dotted decorative paper.
Step 9.
Apply glue to the bigger heart and place it in the middle of the frame. Apply glue to the smaller hearts and place them on the frame. Allow the adhesive to dry for few minutes. Your card is finished and ready to write a lovely message.

Materials and tools
1 sheets (A4) of the white decorative paper
1 sheet (A4) of golden decorative paper with texture
Heart shaped scrapbooking punchers
Double sided tape
Gold embroidery thread or satin ribbon
Printing paper (A4)
Pencil
Ruler
X-Acto knife
Scissors
Cutting Mat
Paper glue
Step 1.
Make a card template 26 cm (10.2 inches) long and 13 cm (5.1 inches) wide. Also, mark the middle of the card (which is on 13 cm/5.1 inches). Cut out the pattern along the lines. Transfer the shape of the template on the white decorative paper. Fold the card base in half. Set aside.
Step 2.
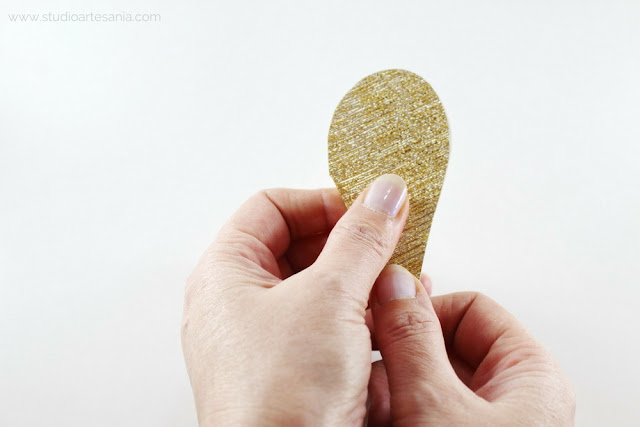
For this card, you will need three hearts - one big and two medium. For the bigger heart, I used the same template as for the first card. For medium hearts, I made a template and retrace it shape twice on the back of the golden decorative paper. Cut out the heart shapes with the scissors.
Step 3.
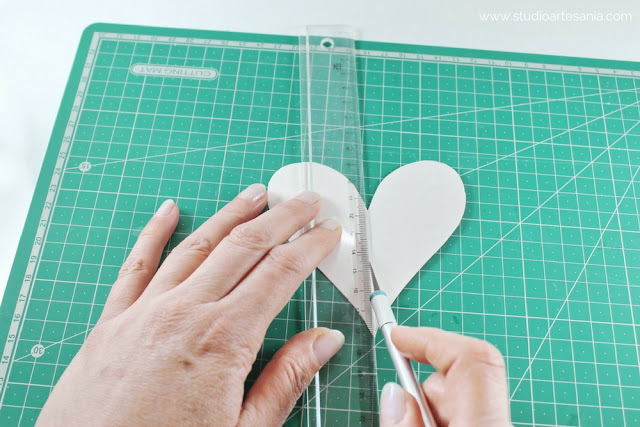
This card is decorated on both sides, and the bigger heart is folded in the middle of it. To fold big heart place it with the golden side on the cutting mat, put the ruler in the middle of it, and trace the line with X-Acto knife. Be careful not to cut the heart in half, you just want to make a dent in the middle of it.
Step 4.
Step 6.
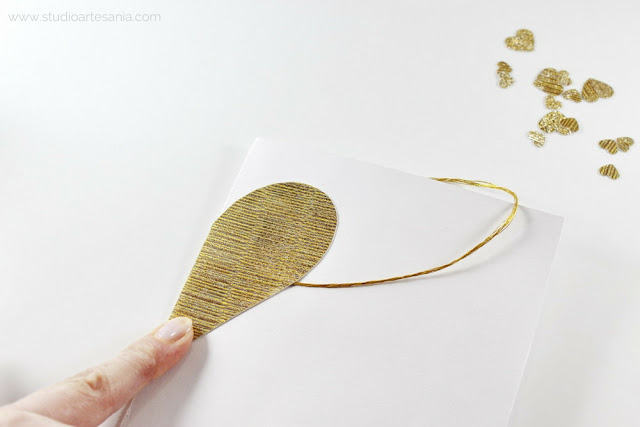
Cut several long strands of golden thread. My thread was very thin so I cut 10 strands. I used embroidery thread, but you can use satin ribbon. The strands should be long enough to stretch over the entire card and to have remained for tying. Approximately the length of strands should be about 55 cm (21.6 inches).
Step 7.
Step 8.
Glue one side of the double tape in the middle of the big heart. Remove protection on another side of the tape.
Step 9.
Step 10.
Apply paper glue on heart, and place card base on one part of it. Make sure that the fold of the card is level with the crease on the heart, as well that the heart is placed in the middle of the card base.
Step 11.
Step 12.
Glue other hearts on both sides of the card base. Allow the adhesive to dry for few minutes, and then write your message. Tie the thread in the bow, and your card is finished.

Materials and tools
1 sheets (A4) of the gold decorative paper
1 sheet (A4) of red decorative paper with texture
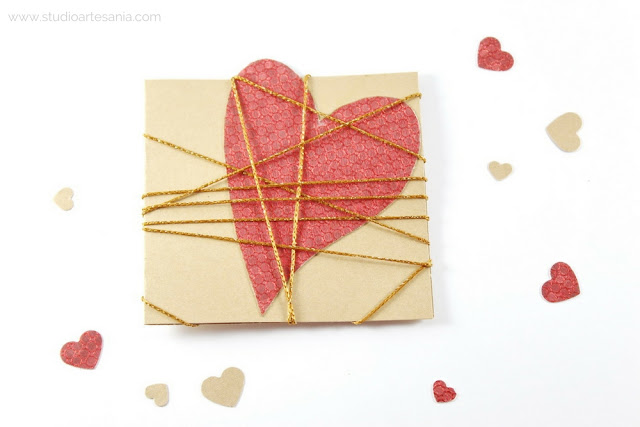
Golden crochet yarn
Printing paper (A4)
Gold ink stamp pad or marker pen (optional)
Pencil
Ruler
X-Acto knife
Scissors
Cutting Mat
Paper glue
Step 1.
Make a card template 20 cm (7.8 inches) long and 10 cm (3.9 inches) wide. Also, mark the middle of the card (which is on 10 cm/3.9 inches). Cut out the pattern along the lines. Transfer the shape of the template on the gold decorative paper. Fold the card base in half. Set aside.
Step 2.
Step 3.
Step 4.
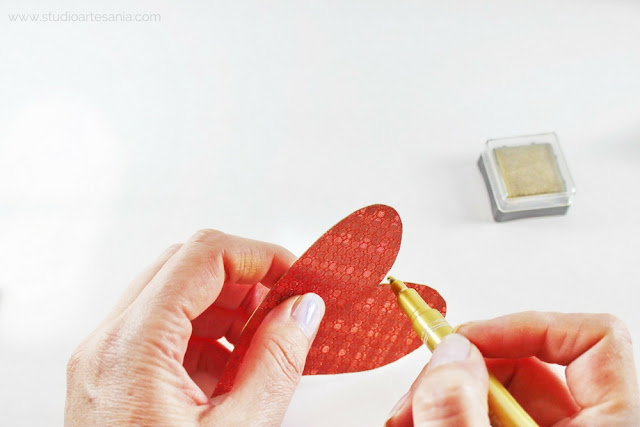
My decorative paper was red just on one side, so when I cut it out white was so obvious. I use a gold ink pad to cover the white edges of the heart. For this, you can use gold marker pen as well. If your paper is colored on both sides (as is the one with polka dots I used for the first card) you can skip this step.
Step 6.
Since I made the heart slightly bigger than the card, I glue a piece of gold paper on the back of it. After the glue is dried, I cut the excess of the gold paper with the X-Acto knife. I just traced the contour of the heart above the card base. That way when you open the card you will not see the white background of red paper, and the entire interior of the card it will be uniform.














0 comments