DIY Striped gold and white heart

Material and tools
White air dry clay
Heart template
Baking paper or cling film
Scissors
Pencil
Piercer
Straw
Acrylic roller
Small bowl of water
Masking tape
Gold mica powder
Fimo Gloss Varnish
Bristle paintbrush
Golden cord or ribbon
Step 1.
Make a larger heart template. I've already explained how to make heart templates in various sizes and shapes in the tutorial for Elegant Valentine's cards, so use that instruction as a reference.
Step 2.
Step 3.
With the piercer poke the hole in the template on the marked spot. This way you will have holes on both sides of heart in the same plane.
Step 4.
Unpack the air dry clay, knead it for several seconds, and place it on the baking paper. With an acrylic roller make a clay tile around 3 millimeters (0.11 inches) thick. If you do not have an acrylic roller you can use a clean glass bottle.
Step 5.
Step 6.
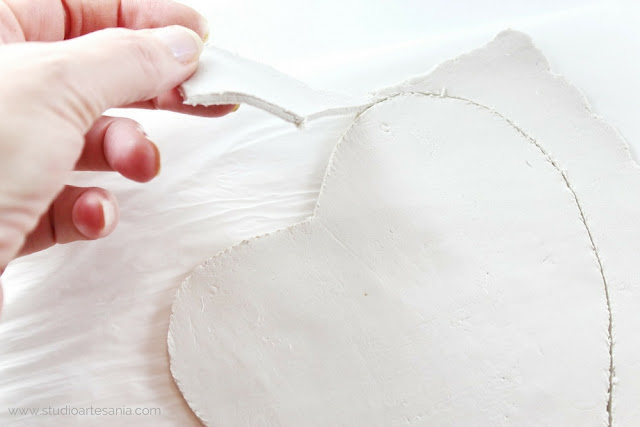
Cut a clay heart with an X-Acto knife following the shape of the template. You do not have to apply pressure during the cutting because the clay is very soft and the knife will slip smoothly through it.
Step 7.
Step 8.
Dip your finger into the water in the bowl and gently go over the heart edges. If necessary, gently rub with a wet finger the whole surface of the clay heart to smooth it or to remove imperfections. Just be careful not to over-saturate your project with water because it will increase drying time.
Do not press the clay during the smoothing process because you can deform it if you do so. Just slide your wet fingertip around the edges and/or the clay surface.
Step 9.
Step 10.
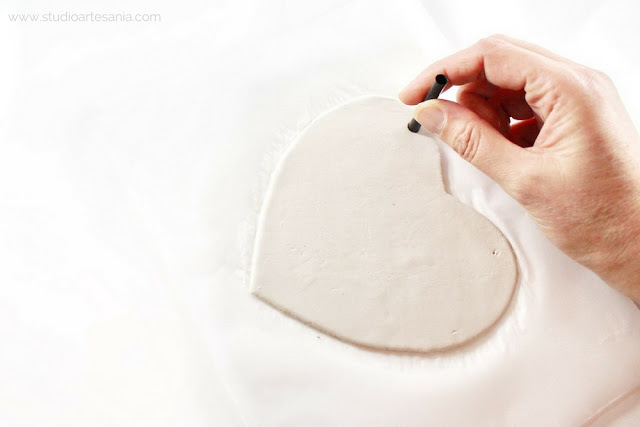
Through marked hols in the paper template, poke the holes in the clay heart with the piercer. Do not try to expand the holes with the piercer. You just want to mark with it the desired location of holes. Remove the template, and set it aside for next project.
Step 11.
Step 12.
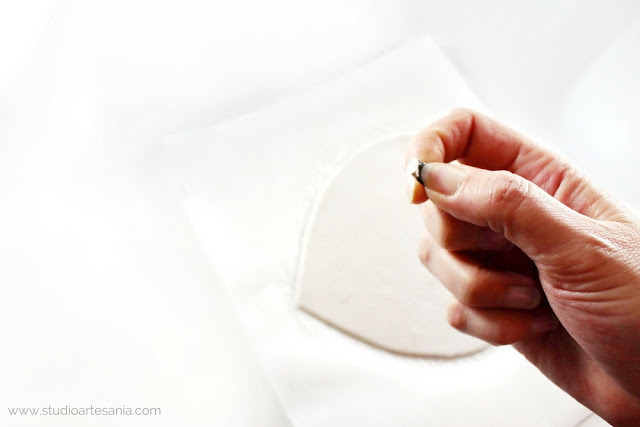
Use a piece of straw to make holes in clay heart slightly larger. Just place the piece of straw on the clay making sure that the pierced hole is in the middle of it, push it through the clay, twist it once or twice, and take it out from the clay.
Step 13.
Step 14.
Leave the clay on a flat surface to dry completely. Depending on environmental conditions and type of clay you use, it will take 24 to 48 hours to dry. Read the instruction so you know the required drying time. If part of your project is on your work surface the entire time, moisture is trapped underneath and it will take even longer to dry. So, be sure to, from time to time, flip your clay heart over to ensure all parts get exposed to air and dry thoroughly. Also, change the sheet of baking paper, since it will absorb moist from the heart and that can extend the drying time.
Step 15.
When the heart is completely dry you ready to start making the stripes. Stick the pieces of the masking tape onto the heart, taking care to make the correct spaces between the tape. During the taping keep in mind that covered arias will stay white, and uncovered will be painted. You can measure every colored stripe to match the white one and make everything very precise, or to work by filing and make your stripes uneven. I combine those to methods in order to show you how it looks like, so my bottom stripe is bigger than the rest of them which are measured.
Step 16.
In the small bowl or on plate mix a little gloss varnish with gold mica powder. The ratio is 1:1, which means that you will mix, for example, 1 teaspoon of varnish and 1 teaspoon of powder. For this project, you will not need a lot of mixtures. For mixing use the wooden skewer. When you mix all powder particles into the varnish, you will get mixture similar to liquid gold.
Instead of gold, you can use mica powder in any color you like. The mixing process and the ratio, no matter what color of mica powder you use is the same. You can even paint every strip in different colors.
I tried other varnishes for mixing with the mica powders but they did not give good results as Fimo gloss varnish. I do not know why, but Fimo varnish in combination with mica powders after the mixture is dried gives the appearance of a real metal, until other varnishes do not achieve this effect.
Step 17.
This step can be a little bit messy, so protect your work surface with a piece of cardboard or a sheet of old newspaper. Apply gold mixture with a dry bristle paintbrush on all uncovered areas of the clay. Do not forget to paint the sides of the heart. Set painted clay heart on the side to let the coating to dry. This takes about 20 minutes. After drying of this coating you do not need to apply a protective layer because you have already applied it by adding a varnish to the mixture.
Use the drying time to wash brush and mixing bowl under the jet of cold water. Otherwise, they will be unusable.
Step 18.
Step 19.
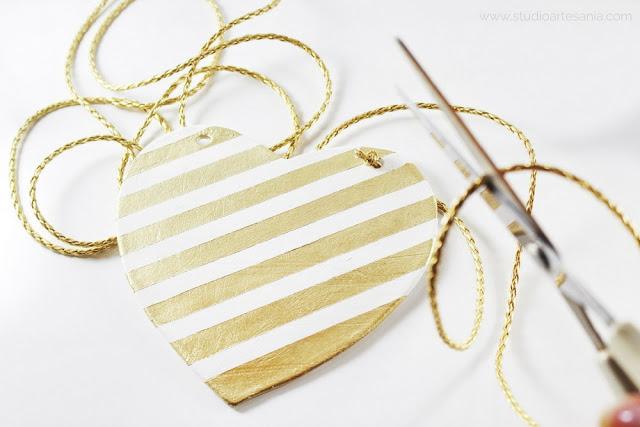
Thread the cord through the hole and tie the knot. I deliberately tied the knot on the front of the heart because, this way, the heart will better fit the surface to which you will hang it. Cut the cord on the desired length, thread it through the second hole, and tie the knot.

If you like this DIY project or recreate it let me know in the comment or message on Studio Artesania Facebook page.Step 20.
Trim the excess of the cord near the knot, so everything looks neat. And that’s it! Your striped gold and white heart are ready to beautify your home.








0 comments